Edit course name, description, cover, and visibility
Update a course's name, descriptions, language, cover image, and provider-page visibility from the course settings drawer.
Course settings don't have their own page — they open as a drawer over whatever you're viewing in the course.
Open course settings
- In your course, open the sidebar. Under Navigation, click Settings to expand it, then click General settings.
The drawer opens on the right, titled Course settings — Configure your course settings and options.
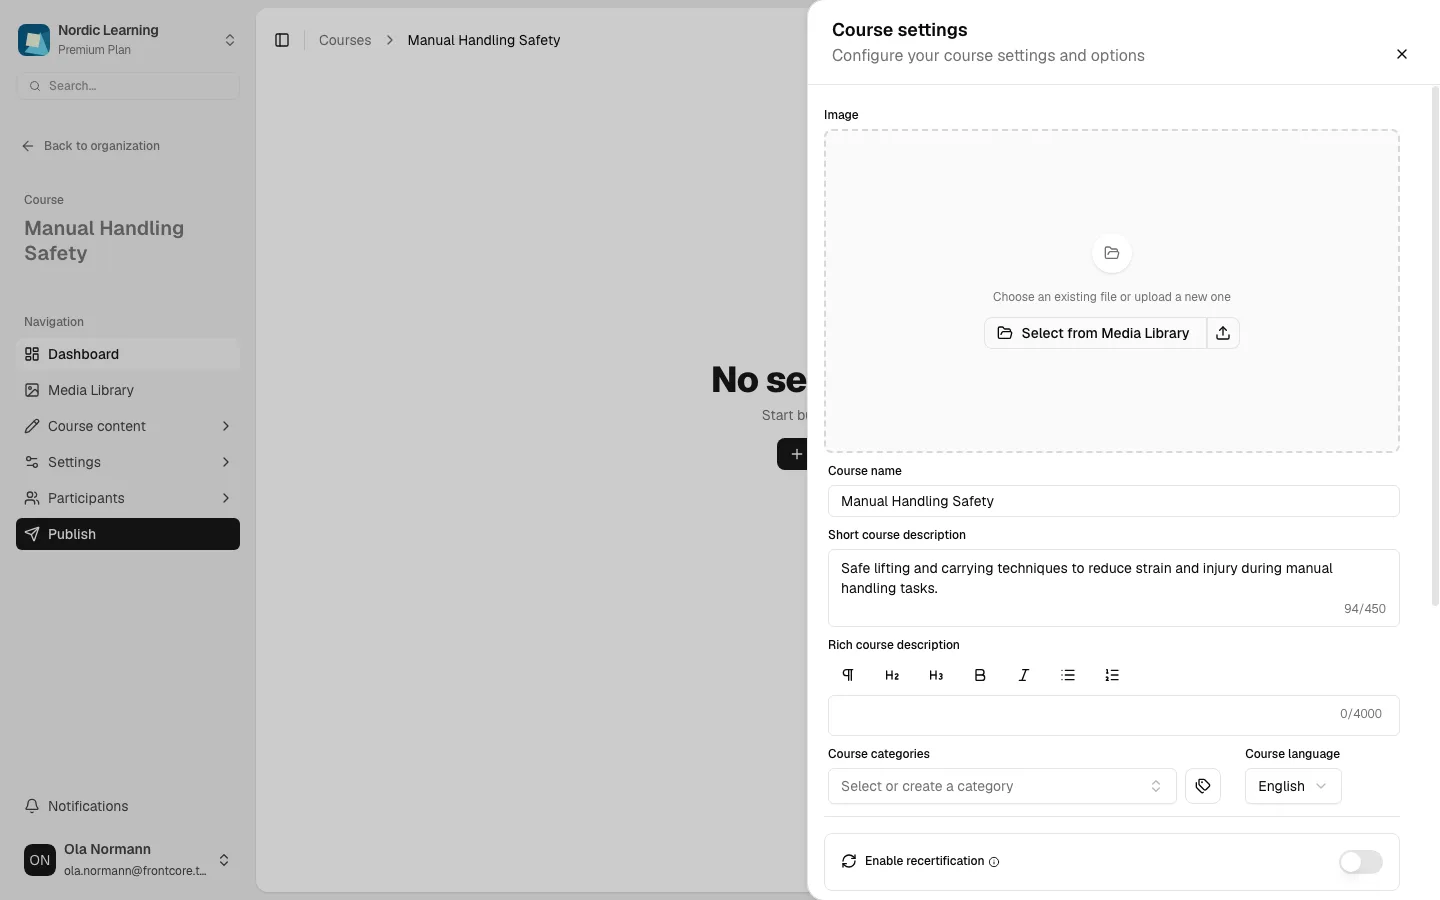
On a taller browser window, the sidebar has room for a dedicated Course settings section instead, with a single Settings button that opens the drawer directly — no need to expand anything first.
You can also jump straight here by adding ?settings=course to any course URL — useful for
linking directly to a course's settings. See
Find your way around the course dashboard for the
rest of the course sidebar.
Edit the name, description, and language
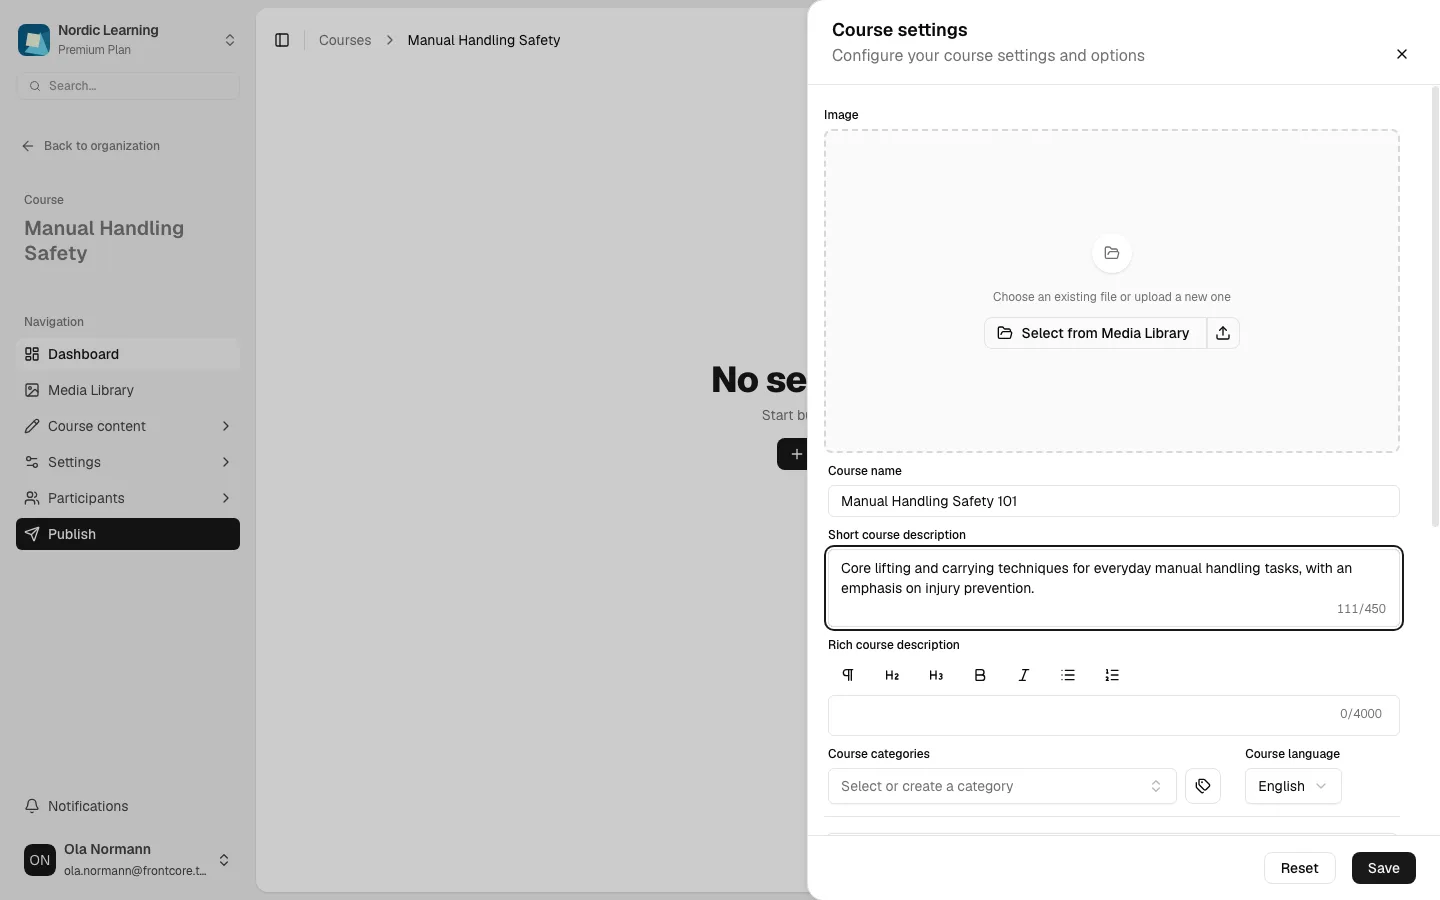
- Update Course name (at least 2 characters).
- Update Short course description (up to 450 characters — a counter tracks how much room is left). This is the summary shown alongside the course in listings.
- Optionally, add a longer Rich course description (up to 4,000 characters) using the formatting toolbar above it.
- Choose the Course language — English, Norwegian, Danish, or Dutch.
As soon as you change anything, Reset and Save buttons appear at the bottom of the drawer:
Set the course cover image
The cover image crops to a 16:9 ratio. The Image field at the top of the drawer offers two ways to set it:
- Select from Media Library — choose an existing image already in your organization's file library.
- Click the upload icon next to it to choose a file from your device instead. This opens a Resize and crop your image dialog where you position the 16:9 crop before confirming.
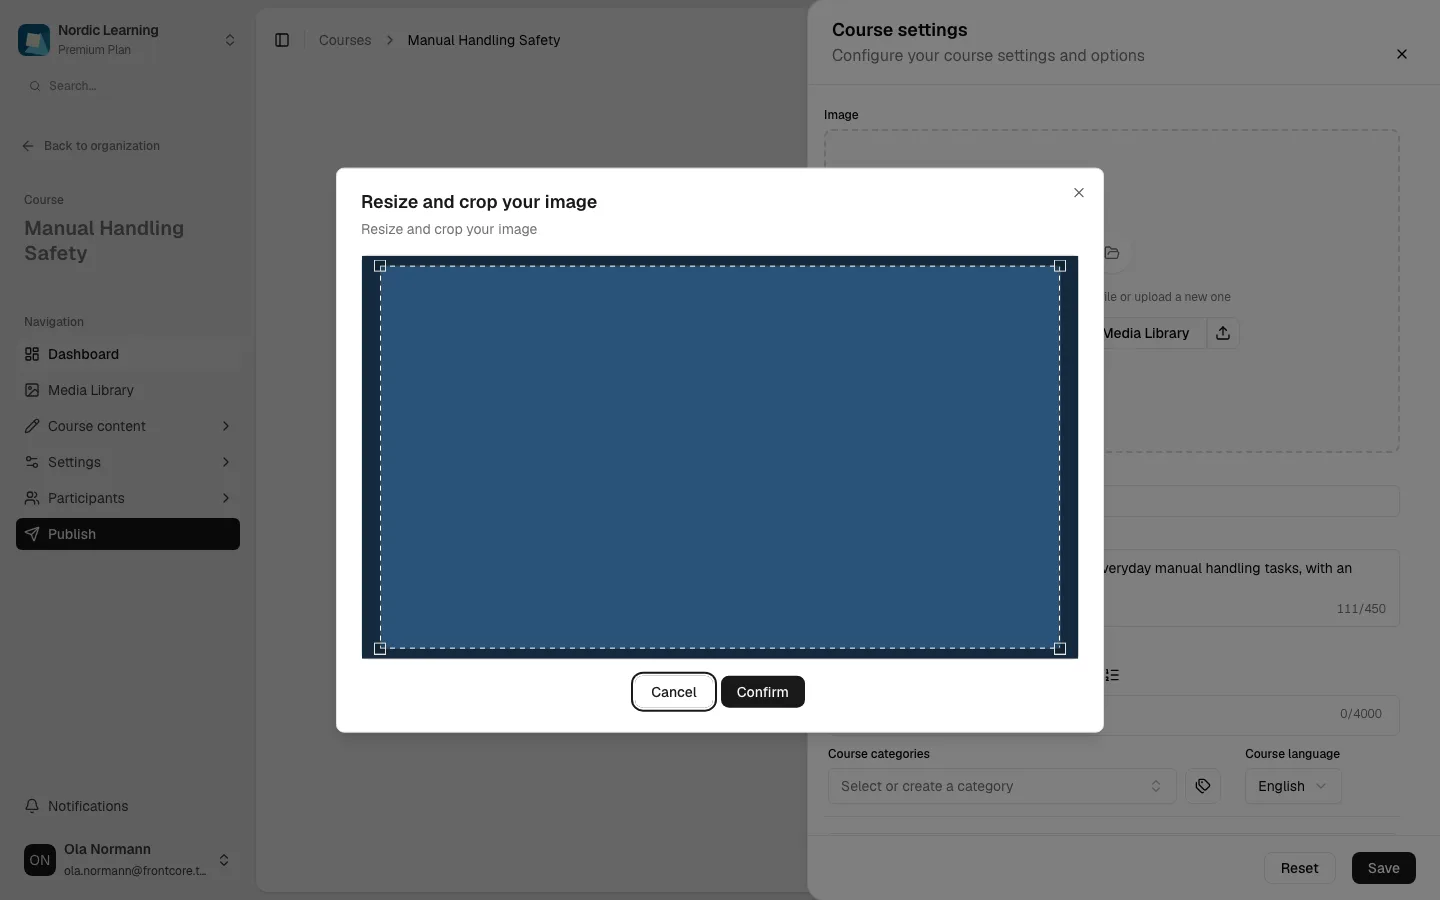
Uploading a local file doesn't bypass the file library — confirming the crop adds the image to your organization's file library and then selects it as the cover, the same as picking an existing one. Only images can be used as a course cover.
Control course visibility
Scroll down to the toggle row near the bottom of the drawer for Visible on provider page, alongside Using chapters and Participant AI assistant:
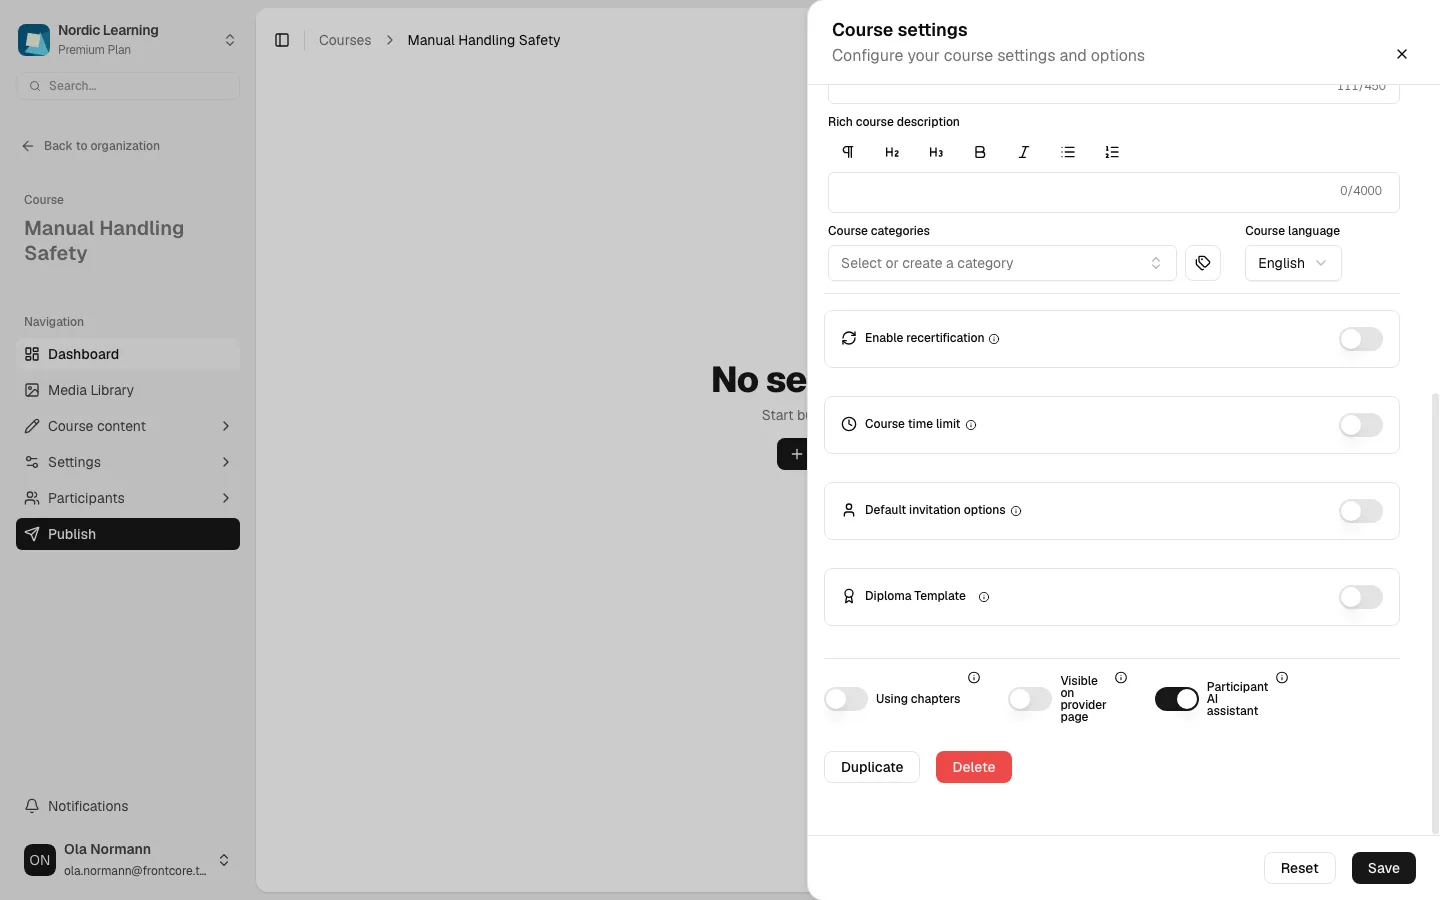
Turning Visible on provider page off hides the course from your organization's public provider page. It doesn't revoke access — people who already have a direct link to the course can still open it; the toggle only controls whether the course is listed.
Whether people can purchase or must be invited to a course is a separate setting, under Pricing rather than this drawer. See Set a price for a course.
Save your changes
Click Save in the drawer footer. There's no confirmation message — once the save completes, the Reset and Save buttons disappear, which is your signal that the drawer is back to a clean, saved state.
This same drawer also holds course categories, recertification, a course time limit, default invitation options, a diploma template selector, and — further down — a Danger Zone with Duplicate and Delete. See Set up course recertification and Duplicate a course.
Next steps
- Create a course to build out a new course's content.
- Set a price for a course to control who can join.
- See the FAQ for answers to common questions.
FAQ
Set up a course exam
Build exam questions, configure attempts and passing thresholds, and activate a course's exam for participants.
Publish a course
Step through the four-step publish wizard — organization profile, course details, pricing, and confirmation — to make a course available to participants.